AN ANALYTICAL XRAY SERVICES LABORATORY
Feel free to call us: 940-784-3002

Full width blog

Donec eget mauris at ipsum molestie bibendum. Praesent sed nisi sed orci tempus auctor. Fusce rutrum elit tristique velit eleifend tempus. Praesent ultrices purus ut urna pellentesque eleifend id quis metus curabitur diam velit.


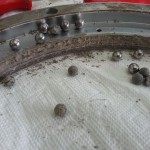
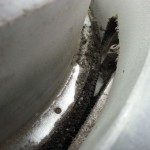
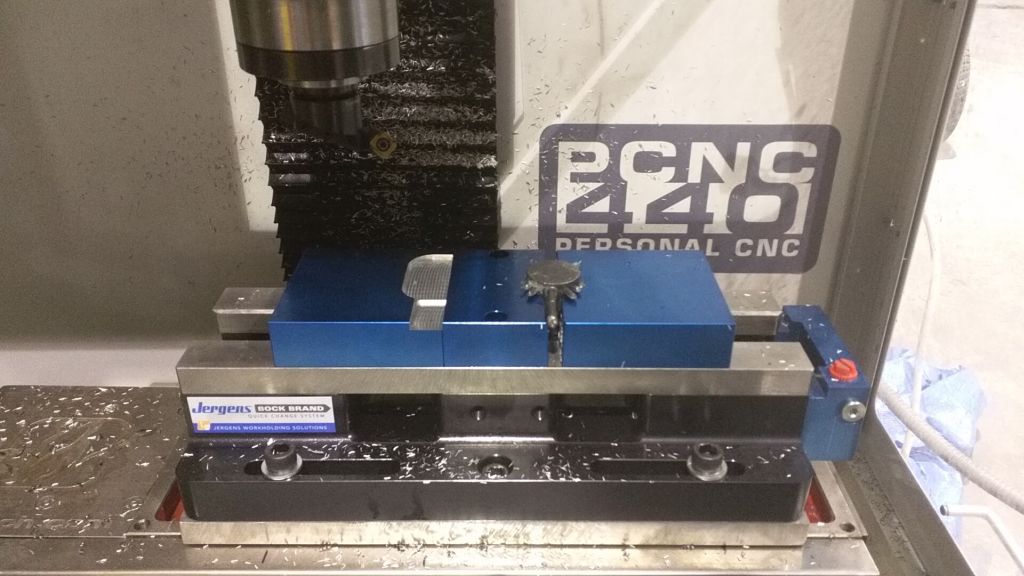
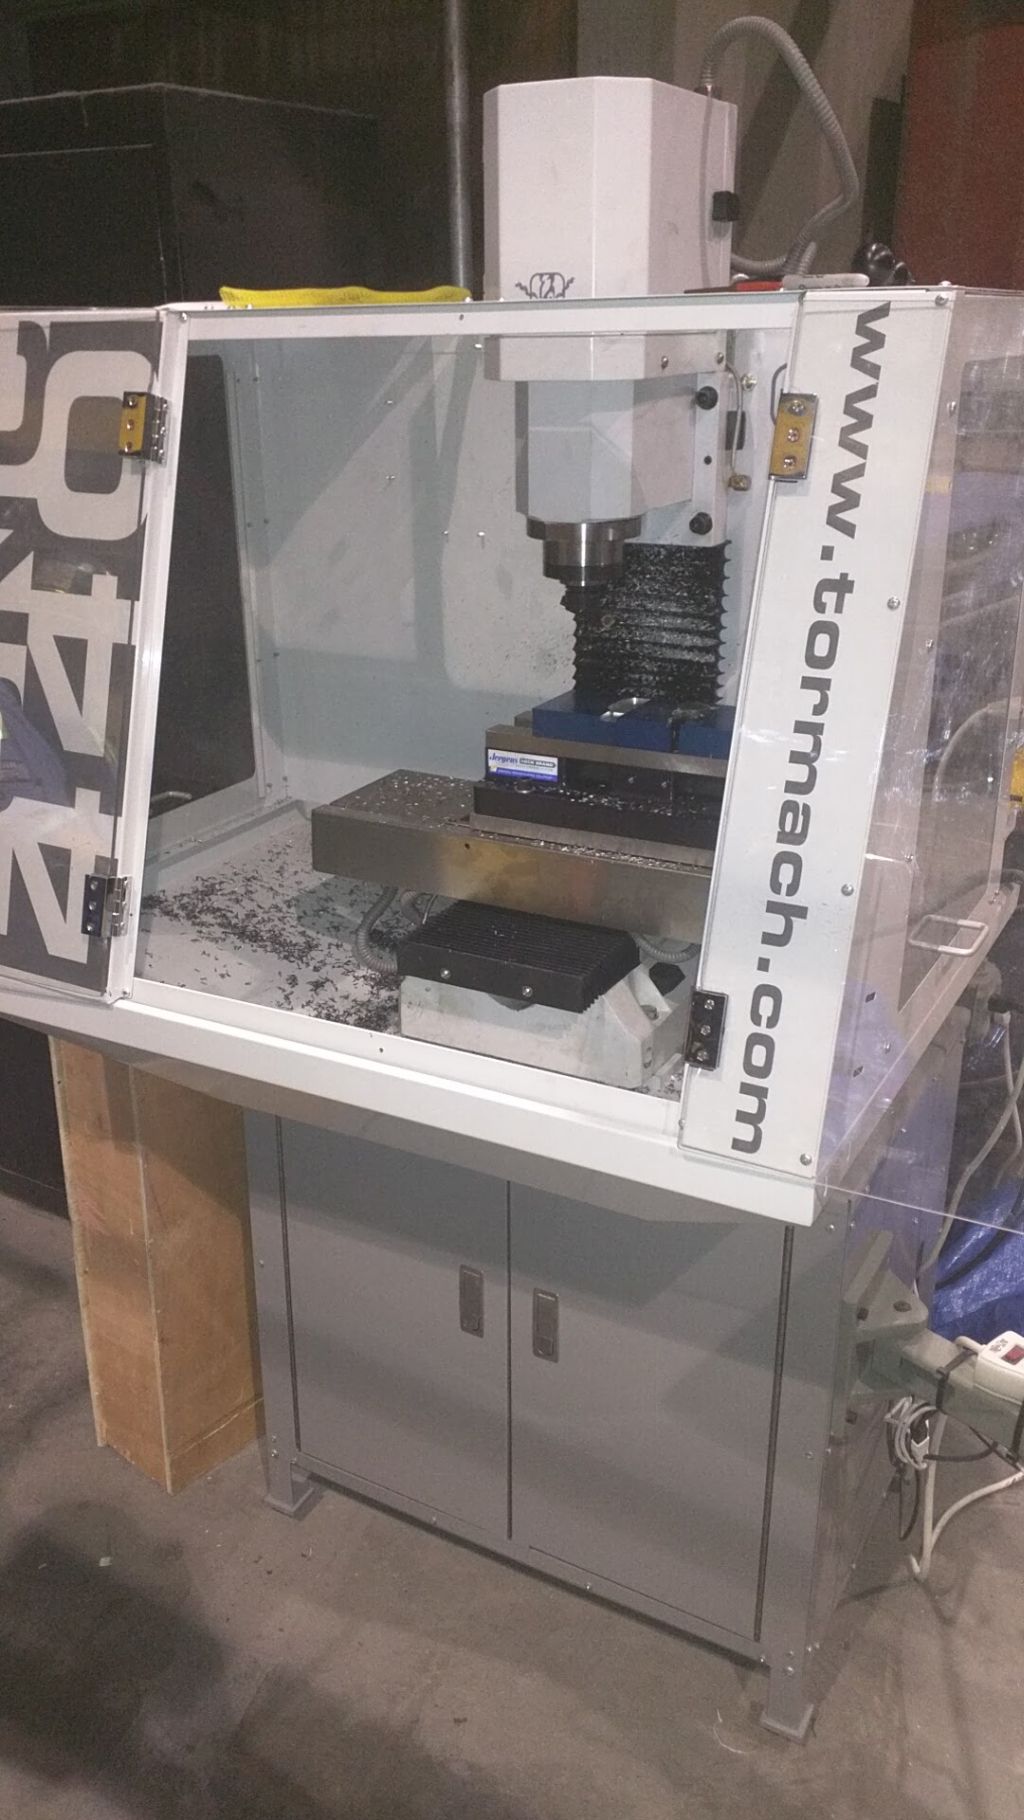
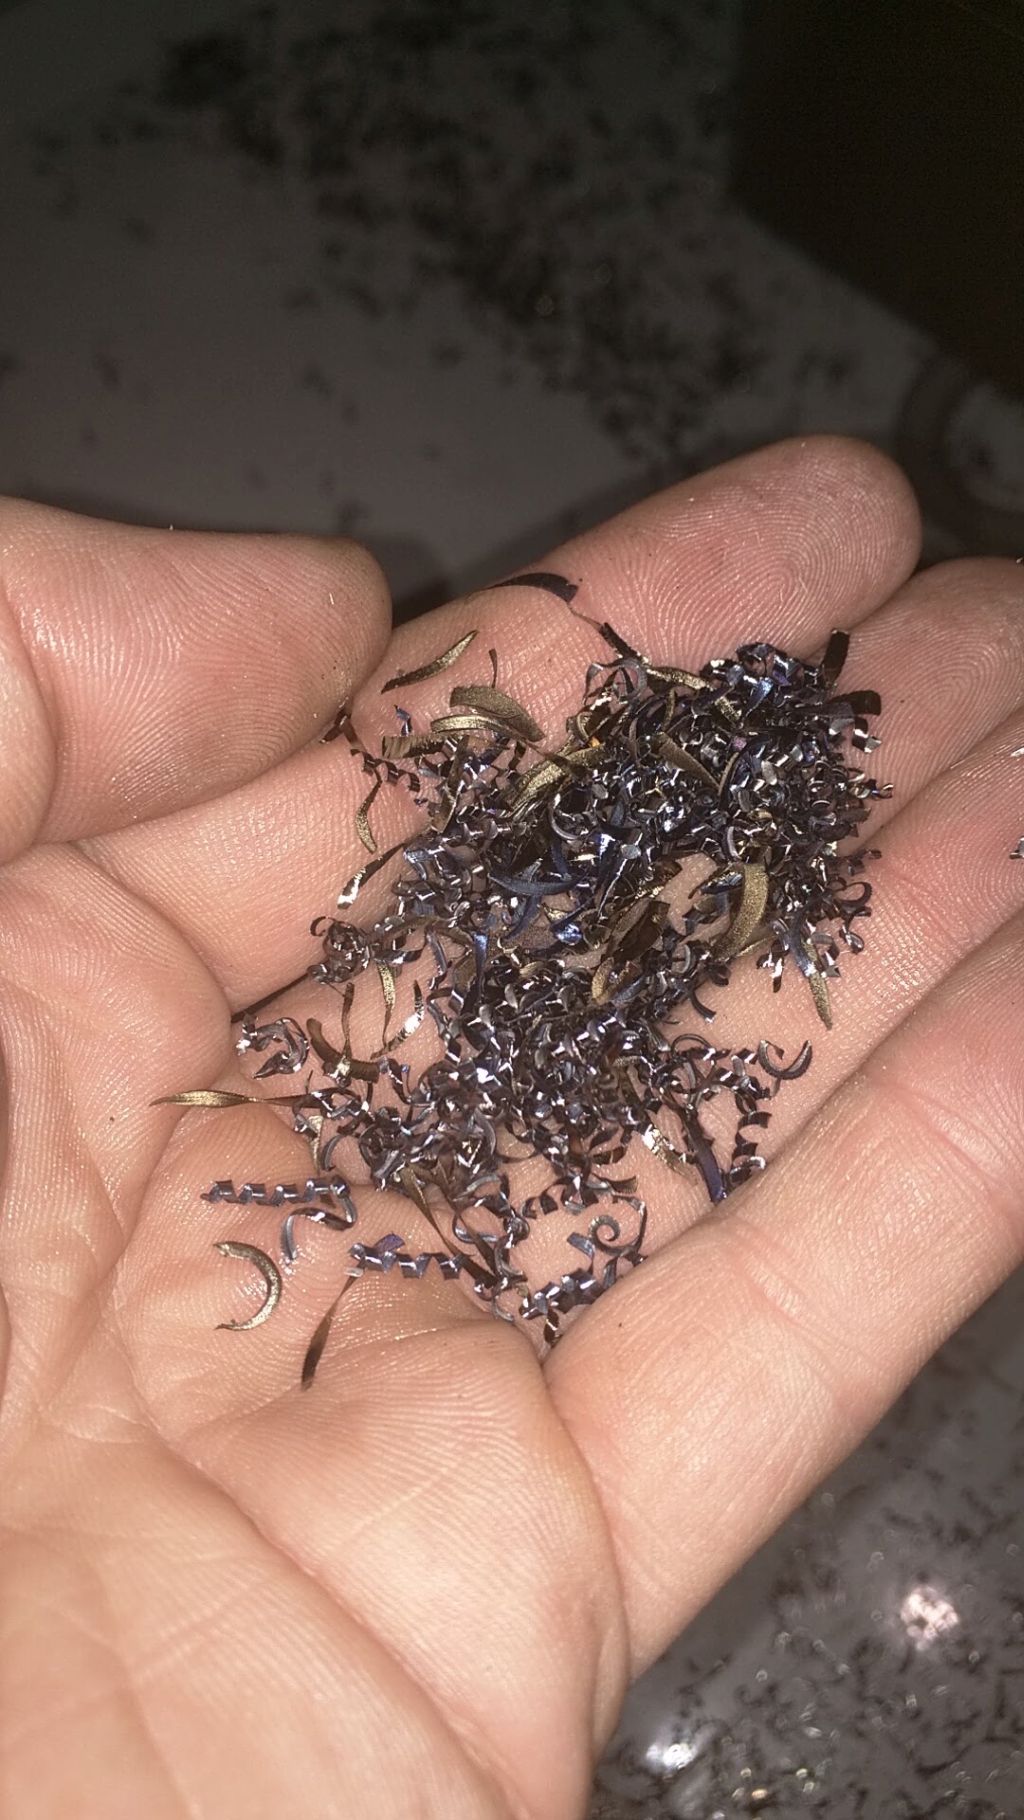
XRD sample holders are easily the most common items we’re asked to machine. Sometimes it’s because they’re no longer available, but usually, it’s to accommodate some special application. Sometimes it’s as simple as making them from Aluminum to allow for cleaning with acetone or other harsh solvents. Other times it has more to do with the clients preferred style of loading or sample volume. The end result is that there’s very little consistency so our process needs to be as versatile as possible. This video highlights the most recent process. It’s hard to see exactly what’s going on through the coolant, but this is a test run of a program to cut special holders for 25mm filter membrane holders for respirable silica measurements (or anything else one might want to deposit onto a 25mm filter). It’s cutting the bottom of one holder and the top of another (each on its own side of the fixture).  A full load of these produces 6 complete holders for every run.

Siemens goniometers are about as sturdy as they come. Large diameter gears and bearings spread out forces across a wide area resulting in smooth and stable performance as well as very high load handling due to the added leverage of this arrangement. For this reason, they’ll run for many years even after the grease inside has become hard and contaminated with dust. Most users don’t even know their goniometer is getting stiff until we check it during a PM. Catching this before the goniometer starts to hang up saves thousands of dollars and weeks of down time. Our goniometer rebuild service involves complete disassembly of the goniometer down to individual ball bearings for a thorough cleaning. We’ve tried to duplicate this procedure on-site with very limited success as the large components are best cleaned in a full size solvent bath and it’s special brackets are required to avoid concentricity issues during reassembly. All the critical electronics are replaced during reassembly along with fresh lubrication. The best case scenario is that we catch issue far enough in advance to get a matching replacement goniometer rebuilt and shipped out. There are too many variants to keep rebuilt units in stock all the time. This way we only need to come to the site once to swap the goniometer and perform the necessary zero alignment. The old goniometer goes back in the same crate and we’re done in a day or two. Waiting till a hard failure of the goniometer means a trip out to identify the problem and disassemble the system. The goniometer is shipped in for a rebuild which can easily take a few days to complete before being shipped back along with a second on-site visit. I’d estimate the extra cost to be right around $6k plus the cost of shipping and two weeks of downtime. We certainly don’t mind going this route, but if it were my money, I’d rather spend it on a comprehensive check of the machine rather than emergency services.

These pictures are from one of our first full rebuilds. This instrument was installed in a D5000-MATIC instrument at a cement plant. I’ve never seen so much dust inside a goniometer. Another particularly rough one was from a horizontal goniometer on a single-crystal system at a university. The students had a terrible habit of breaking Si(100) wafers and dropping them onto the goniometer face. Those little shards made their way into the bearings resulting in a rather perilous rebuild with shards of Si throughout it.

Posted by: In: Uncategorized 12 May 2016 0 comments

IMG_20160428_120306

Everyone wants to see their instrumentation perform at its peak, but all too often, the instrumentation is not the weak link in an analytical strategy. We see this in WDXRF and XRD, but recently had the opportunity to work with a client on their OES sample prep. This large steel mill has been using an automated Herzog sanding machine for many years. I’ve seen it in action and it’s a truly impressive tool. The engineers at Herzog have decades of experience building automated prep solutions and definitely worked hard on the design. However, speed was the key factor when this method was developed. There are few ways to prep a metal coupon faster than running it against a sanding belt. The sanding method had the added benefit of an extremely hard cutting medium (usually Al2O3) which meant that a single preparation procedure could be used for all steel grades and even worked when careless workers chose to water quench hot samples rather than allowing them to temper a bit by cooling in air (making them extremely hard). The downside of this method comes down to surface quality. Sanding will always leave a rough surface with linear troughs/grooves which create a variable surface area as well as shadowing. These effects are detrimental to light element sensitivity and as tolerances are tightened, the lab supervisors were forced to look to other methods.

IMG_20160428_120412


We began talking about this project over a year ago when the WDXRF user mentioned the lower detection limits that were soon to be implemented. I’d had some experience with sample preparation by milling, but usually more exotic alloys. There are certainly more than a few options available for automated milling, but their high cost and space requirements put them out of the running for this situation. My recommendation was to purchase a lower level CNC milling machine and automate as much of the process as possible to simplify operation and limit opportunities for error. I’m happy to say that the first tests earlier this month were a great success. The coupons come out with a very smooth surface in about the same amount of time it took to run through the sanding machine before.

IMG_20160428_120323There are still some things that bear consideration with milled samples. Not the least of which is contamination from the cutter. This client is unlikely to be bothered by Al2O3 from their sanding media, but small amounts of Tungsten Carbide steel (WC) rubbing into the surface could present an issue as cutters wear out. Luckily, the tools we’re using are indexable and not too expensive which allows users to change cutters frequently. It’s important to maintain a sharp edge and correct settings for this type of work in order to avoid “rubbing” through the material. This occurs when the tools is rotated too fast or fed too slowly. Material is pushed out of place rather than being cut. This causes contamination, premature tool wear and smearing of the surface. All of which have a detrimental effect on the analysis. I spent a solid day working out the initial conditions and there will still likely be many adjustments and changes before this becomes the primary production method.


All in all, this was a great project to work on. The improved detection limits will dramatically improve their analysis of light elements, the automated vise and mill will make it even easier and faster to prep material than before and we’ve done it all at a fraction of the cost expected. One thing I should note here is that this particular milling machine was chosen due to its exceptionally small size and low cost which were key requirements of this job. Given a less restrictive environment, I would have recommended a much different solution.